Loading…

Maps & CombatTTK Rankings
Visits are counted anonymously, without cookies. Your loadouts stay in this browser. Signing in sets one cookie so the hub knows you. A few pages carry ads from Google, which sets cookies of its own. In the EU and UK you are asked before it does. The full rundown.
| # | Pin | Details | |||
|---|---|---|---|---|---|
| 1 |  APSniper | 0.06s 1 shot · 149 dmg | |||
| 2 |  APMarksman Rifle | 0.19s 2 shots · 50.3 dmg | |||
| 3 | 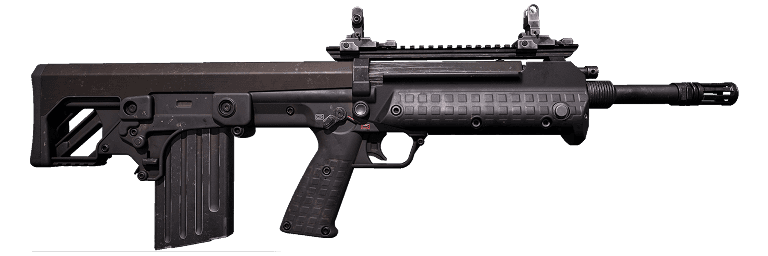 APMarksman Rifle | 0.19s 2 shots · 54.9 dmg | |||
| 4 |  BUCKShotgun | 0.19s 2 shots · 71.3 dmg | |||
| 5 | 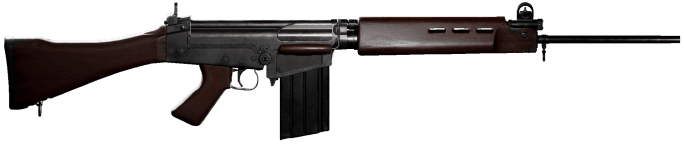 APAssault Rifle | 0.24s 3 shots · 42.2 dmg | |||
| 6 | 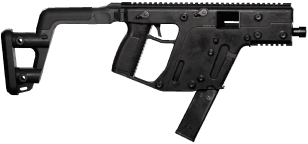 STDSMG | 0.33s 5 shots · 20.8 dmg | |||
| 7 |  APMarksman Rifle | 0.35s 3 shots · 38.4 dmg | |||
| 8 | 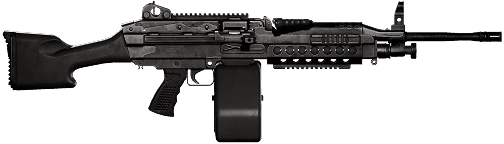 APLMG | 0.41s 6 shots · 19.7 dmg | |||
| 9 | 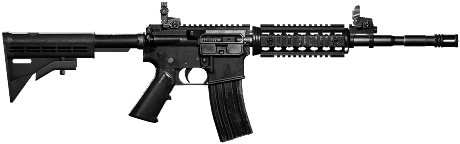 APAssault Rifle | 0.43s 6 shots · 18.7 dmg | |||
| 10 | 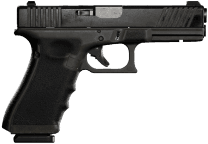 STDPistol | 0.43s 7 shots · 15.2 dmg | |||
| 11 | 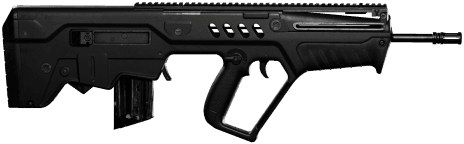 APAssault Rifle | 0.45s 6 shots · 18.7 dmg | |||
| 12 | 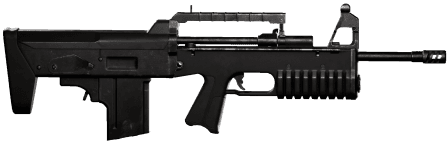 APAssault Rifle | 0.50s 6 shots · 18.7 dmg | |||
| 13 | 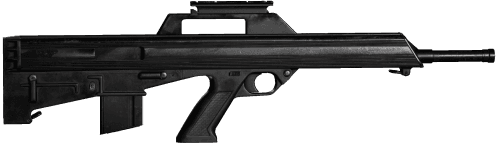 APAssault Rifle | 0.50s 6 shots · 18.7 dmg | |||
| 14 | 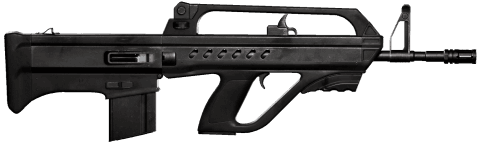 APAssault Rifle | 0.50s 6 shots · 18.7 dmg | |||
| 15 | 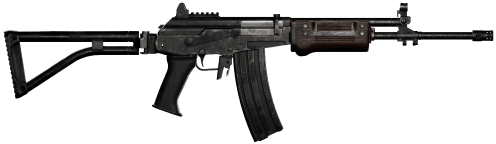 APAssault Rifle | 0.51s 6 shots · 18.7 dmg | |||
| 16 | 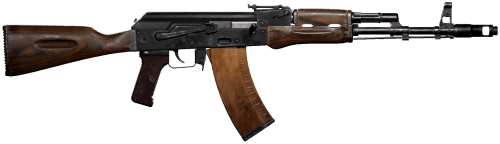 APAssault Rifle | 0.52s 6 shots · 17.4 dmg | |||
| 17 | 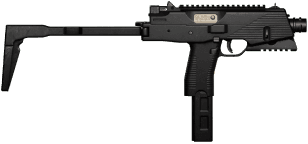 STDSMG | 0.53s 7 shots · 15.2 dmg | |||
| 18 | 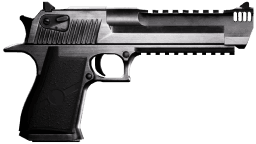 APPistol | 0.56s 3 shots · 46.6 dmg | |||
| 19 | 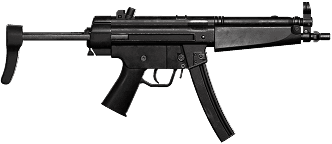 STDSMG | 0.58s 7 shots · 15.2 dmg | |||
| 20 | 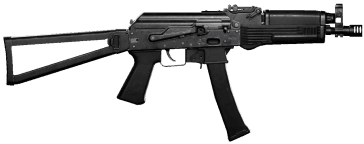 STDSMG | 0.58s 7 shots · 15.2 dmg | |||
| 21 |  BUCKShotgun | 0.60s 2 shots · 71.3 dmg | |||
| 22 | 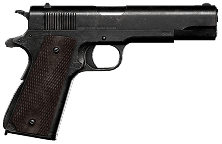 STDPistol | 0.62s 4 shots · 27 dmg | |||
| 23 | 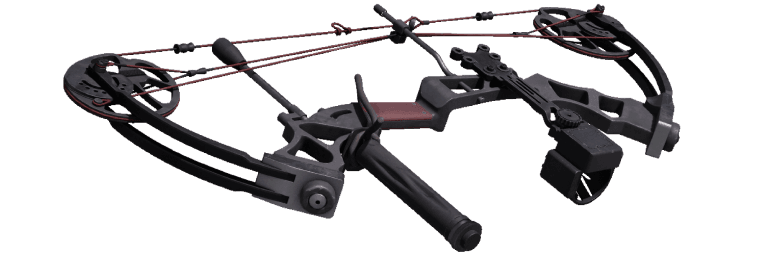 STDBow | 0.74s 2 shots · 96.6 dmg | |||
| 24 | 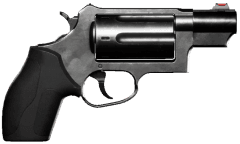 STDPistol | 1.05s 4 shots · 31.2 dmg | |||
| 25 | 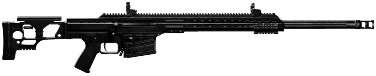 APSniper | 1.36s 2 shots · 76 dmg | |||
| 26 |  APSniper | 1.36s 2 shots · 69.7 dmg | |||
| 27 |  APSniper | 1.36s 2 shots · 69.7 dmg | |||
| 28 |  APSniper | 2.66s 3 shots · 33.7 dmg | |||
| 29 | 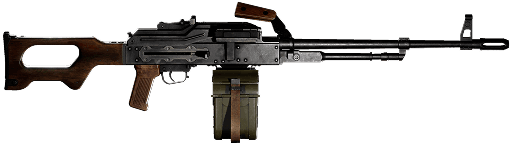 APLMG | · 3 shots · 40.7 dmg | |||
| 30 | 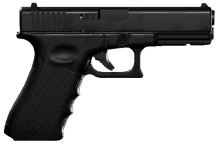 STDPistol | · 7 shots · 15.2 dmg |
100 HP target · the clock runs from the trigger pull to the killing hit, flight included · buckshot lands every pellet
Time to kill runs from the trigger pull to the killing hit. It folds damage, rate of fire, armor and the round's flight to the target into one figure you can rank, which is why it settles arguments.
Start by setting up the engagement, which means the armor your target wears, where your rounds land and how far away the fight is. The table then ranks every weapon for that exact fight, with the damage falloff and the round's flight time applied at the range you chose, and each weapon appears once with its fastest round unless you switch to every round it chambers or to the best weapon in each class.
A fast TTK assumes every round lands where you aimed at the range you set. A weapon that wins the chart by three hundredths of a second wins nothing if you cannot hold it on target, and the headshot setting shows how much a weapon gains when only some of your rounds reach the head.
The five small bars at the end of each row are the same weapon against no armor and every level up to Level 4, each measured against that weapon's own slowest. A gun whose bars stay level holds up against any target, while one whose bars climb steeply is at its best in the early fights before the heavier plates come out.
Two marks flag a number to read with care. The magazine mark means the kill takes more shots than the stock magazine holds, so a reload lands in the middle of the fight, and the ruler mark means the range is past the weapon's effective range. Buckshot counts every pellet on target at any distance, so a shotgun's number far past its effective range is the best case.
Pin up to four weapons from the table and the chart above it plots each one's time to kill from the muzzle out to 1,200 meters. While the shot count holds, a line climbs gently as the round spends longer in the air, and where the damage falloff costs the weapon another shot, the line jumps. The vertical marker is the range the table is set to, and dragging across the chart moves it.
Open any row to see its breakpoints, the exact ranges where it needs one more shot, next to its time to kill against every armor level. Copy the link to share what you are looking at, since it carries the armor, the aim, the range, the filters and the pinned weapons, and whoever opens it sees the same chart.
Every row's details link into the damage calculator with the weapon, the round, the armor and the range already filled in, where you can check all twelve hit zones before you buy. The chart narrows the field, and the calculator settles which one you take into the fight.
Time to kill: how long a weapon needs to put a target down, measured from the trigger pull. It combines damage per shot, rate of fire and the round's flight to the target into one number, which makes it the fairest way to compare weapons across classes.
Yes. A sniper that kills in one shot still spends time in the air, and that flight is its TTK. A Mosin round takes about a third of a second to cover 300 meters, so at that range its one-shot kill reads 0.35s rather than instant. At the muzzle it reads zero.
It depends on the fight. Against a target with no armor, the one-shot rifles and the fastest-firing guns take the top, and once the target wears heavier plates the armor-piercing rounds climb, because penetration starts to outweigh rate of fire. Set the armor level and the range you expect to fight at, and the table ranks the whole armory for that fight.
Often by a whole shot. An assault rifle hits the head more than twice as hard as the chest, and most classes come close to that, so mixing one headshot into every two, three or four shots can take a round off the kill. The headshot setting lands one shot in that many on the head and the rest on the zone you aimed at, and the head hit closes each cycle, so the opening shot never gets the credit.
Yes, heavily. Armor cuts the damage that gets through to the zones it covers, which raises the shots to kill and stretches the TTK. Pick any level from none to Level 4, and the small bars at the end of each row show the same weapon against every level at once, so you can see the gap without switching.
It is the version of a tier list that shows its work. Rather than a letter grade, each weapon and round pairing carries the time it takes to kill in the fight you set up, so you rank the armory for the way you actually play.