Loading…

PlannersVehicle Cargo
Visits are counted anonymously, without cookies. Your loadouts stay in this browser. Signing in sets one cookie so the hub knows you. A few pages carry ads from Google, which sets cookies of its own. In the EU and UK you are asked before it does. The full rundown.
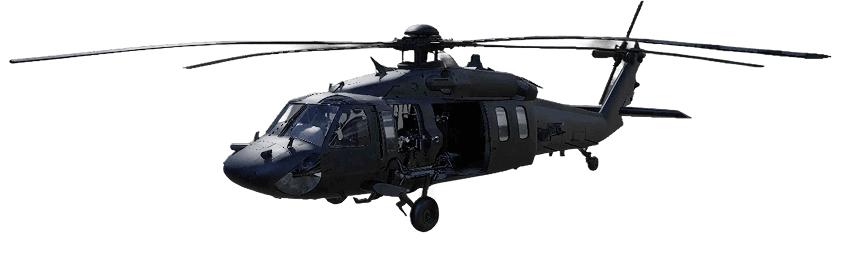
12 can ride. A crate on the bed sits where some of them would.
| Tactical Deployment12 passengers | $200 each | $2,400 | 300 XP |
| Passenger Survived12 passengers | $500 each | $6,000 | 1,200 XP |
| The run pays | $8,400 | 1,500 XP |
The game's own rates, scaled for the server's head count the way every payout is. Sales assume the whole stock goes at the markup and count the vendor price back in with it. The cash calculator has every receipt.
Click the start.
A hauling run either pays for itself or it does not, and the difference is usually one crate. Pick the vehicle, mount what you plan to carry, and the manifest tells you what fits, what it weighs and what it costs before you drive anywhere.
A vehicle carries two inventories. The trunk takes loose gear, one item a slot whatever its size, and the logistics bed takes crates and pallets by their footprint, so the biggest truck is not always the right answer for a given load.
Work backwards from what you are hauling. Price the load first, then find the cheapest vehicle whose bed takes it. A run that needs an expensive vehicle to carry a cheap load is a run that loses money the moment anyone shoots at you.
Fuel and distance matter as much as capacity. Two short runs in a cheap truck often beat one long run in something you cannot afford to abandon.
It depends on the vehicle. The trunk has a fixed number of slots, six on a Ural and twenty on a Lakota, and one item takes one slot whatever its size. The logistics bed is separate: only crates and pallets go on it, by their footprint, so a Ural carries two pallets and a Humvee one crate. Pick the vehicle in the planner and it shows both filling as you load.
The cheapest one whose bed takes the load you are actually carrying. Capacity you do not use is money you spent for nothing, and an expensive vehicle turns a lost run into a much worse loss.
Each has its own slot count and health, and the vehicle's bed decides which of them it accepts. The planner only offers combinations that actually fit.